Create new web section
This quick guide will help you create new web sections. Go to Settings/Web/Web sections and you will see a list of all created subsections of your online presentation.
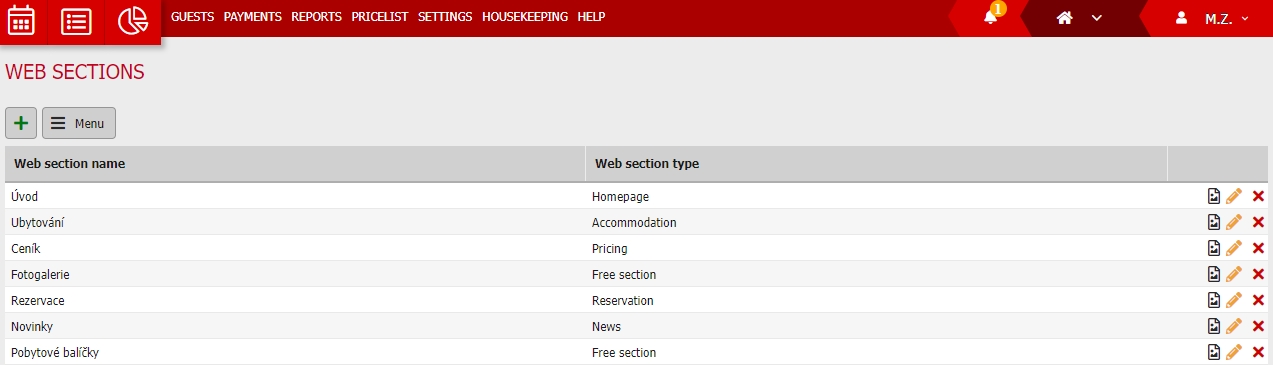
Web sections can be adjusted (yellow pencil icon), erased (red cross icon) and you can also assign main photo for the section.
Let´s create a new web section using the button with green plus icon on the top left side above the table.
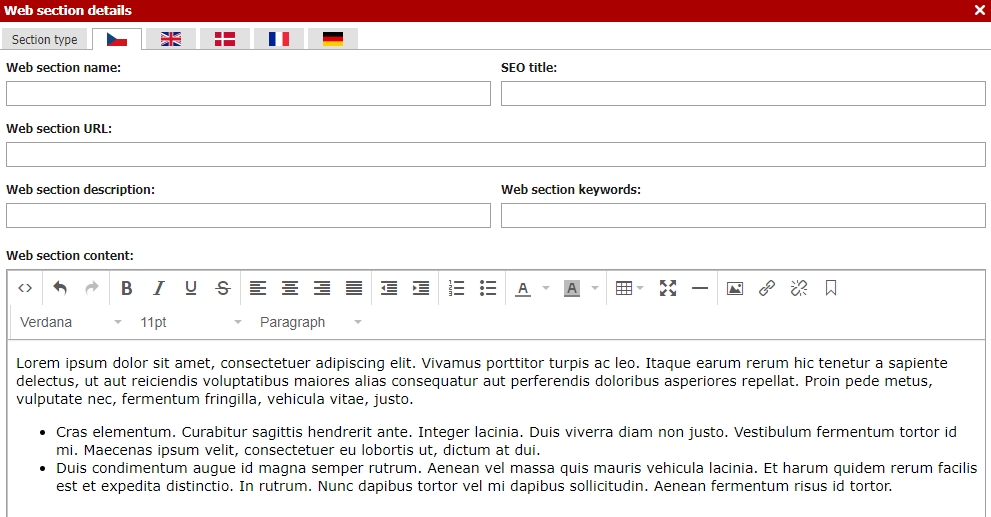
In upper part of the window you can choose which language version of site you want to edit. But first fill in the settings in upper part of the selected language version.
- Web section title is the name of the entire section. This title is visible for your guests.
- Web section URL – fill in in non-capital letters, without diacritics and separate more words with dashes
- SEO title + Description + Key words – are helpful for SEO of the section
Last thing you need to do is create the “body” of your site. Middle part of the window contains classic text editor with plenty of functions.
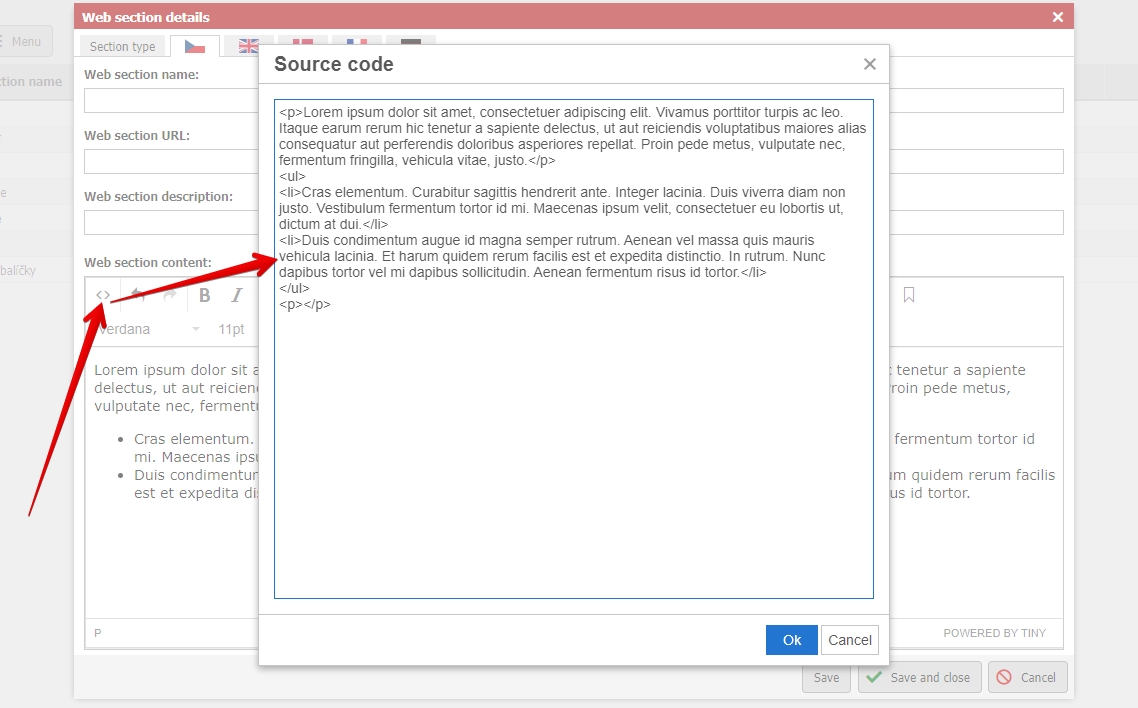
If you are skilled in HTML you can also create a web section using in HTML. There is a button for switching to HTML editor.
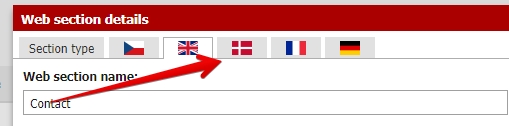
After the body is done, you need to fill in all the other language variations of your web section. You can switch to different language versions through country flags in top part of the window.
Last thing before we will be ready. Created web section has to be placed in your website menu. Press Menu button on the top left side above the list of web sections. Now select which sections are active (visible for visitors of your website) and in which order will they be displayed.
Change in order can be done by drag and dropping the sections in the list. Certain section can be also assigned as subsection of other section. Drag and drop the section a bit more to the right under the section where you want to have it assigned.
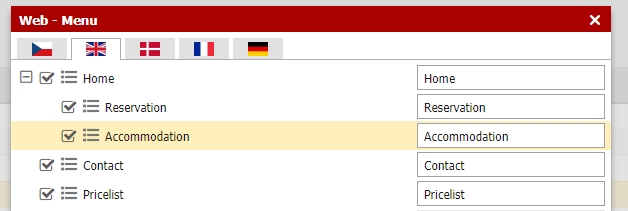
Do not forget to adjust the menu for all language versions of your sites!